

Hey there! I'm a supplier of box headers, and I know that installing these little components can be a real pain in the neck sometimes. You might end up making some mistakes during the installation process, but don't worry – I'm here to help you figure out how to correct those installation mistakes of box headers.
First off, let's talk about some common installation mistakes. One of the most frequent blunders is misalignment. When you're putting in a box header, it's super important to make sure it lines up perfectly with the corresponding socket or board. If it's even a little bit off, it can cause all sorts of problems, like poor electrical connections or even damage to the components. Another common mistake is improper soldering. If the solder joints are too weak or too thick, it can lead to unreliable connections and potential failures down the line.
So, how do you fix these issues? Well, let's start with misalignment. If you notice that your box header isn't lined up correctly, the first thing you need to do is take a deep breath and don't panic. You can gently try to reposition the box header. Use a pair of fine - tipped tweezers or a small flat - head screwdriver to nudge it into the right place. Just be really careful not to bend any of the pins while you're doing this. If the misalignment is due to a problem with the mounting holes on the board, you might need to use a drill bit to slightly enlarge the holes, but this should be done with extreme caution.
Now, let's move on to soldering problems. If you have weak solder joints, you can re - heat the joints with a soldering iron. Make sure the iron is at the right temperature (usually around 350 - 400 degrees Celsius). Apply a little bit of fresh solder to the joint while heating it. The new solder will flow into the existing joint and strengthen it. On the other hand, if the solder joints are too thick, you can use a desoldering pump or desoldering braid. A desoldering pump sucks up the excess solder, while desoldering braid absorbs it. Just place the braid or the pump tip on the joint, heat it up, and watch as the excess solder is removed.
Let's take a look at some specific types of box headers and how to handle installation mistakes for them. For example, the 1.27mm Box Header Double Row Straight. This type of box header is quite common, and misalignment can be a real headache. When installing it, make sure you're using a proper jig or alignment tool. If you've already installed it and it's misaligned, you may need to carefully desolder all the pins, re - align it, and then resolder.
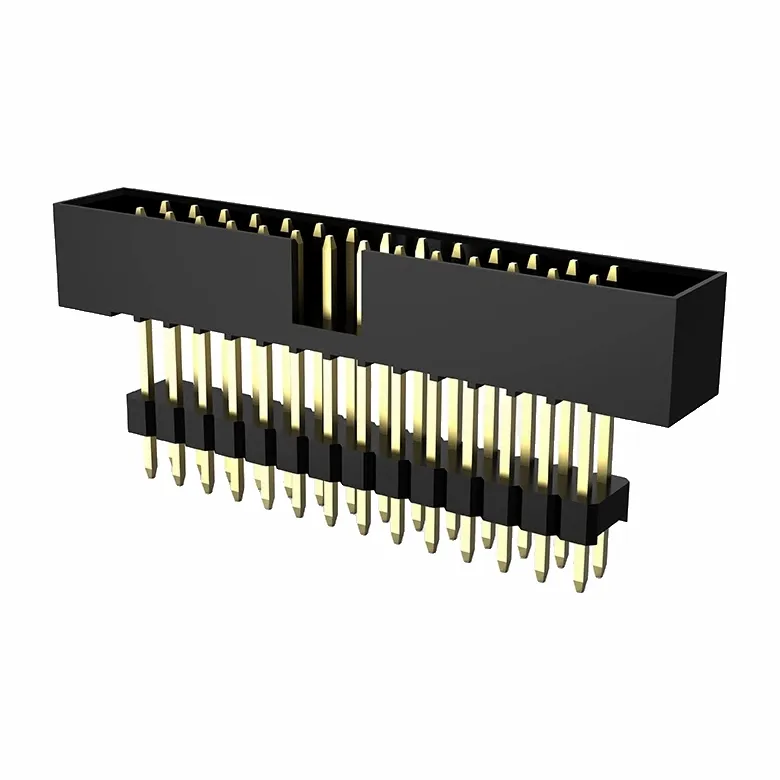
The 1.27mm Box Header Double Row Straight Stacker has its own set of challenges. These stackers are designed to be stacked on top of each other, so proper alignment between the layers is crucial. If you find that the stacker isn't sitting right, check if there are any debris or bent pins between the layers. Clean the pins and gently adjust the stacker until it fits snugly.
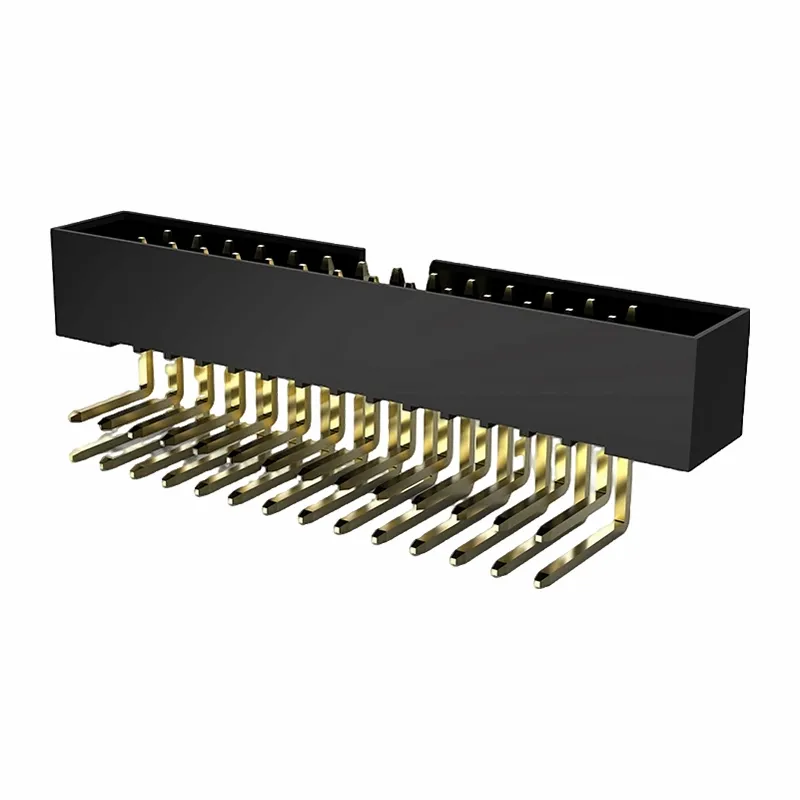
The 1.27mm Box Header Double Row Right Angle DIP is another type that can be tricky to install. Since it's at a right - angle, it's easy to get it tilted or misaligned. When installing, use a right - angle alignment fixture if possible. If it's already installed incorrectly, you'll need to desolder it, correct the angle, and then resolder.
Another thing to keep in mind is static electricity. Static can damage the box headers and other components during installation. Make sure you're using an anti - static wrist strap and working on an anti - static mat. This will help prevent any static - related issues that could cause installation problems or long - term damage.
It's also a good idea to double - check your work after making corrections. Use a multimeter to test the electrical connections. You can check for continuity between the pins to make sure there are no open circuits. If you're still having problems after making all the corrections, it might be a good idea to consult with an experienced technician or reach out to the manufacturer for further advice.
In some cases, if the box header is severely damaged during the installation process, you may need to replace it. But don't worry, as a box header supplier, I can provide you with high - quality replacements. We have a wide range of box headers in different sizes, configurations, and pin counts to meet your specific needs.
If you're in the market for box headers or need more information on how to handle installation mistakes, feel free to get in touch with me. I'm always happy to help you out with your procurement needs and answer any questions you might have. Whether you're a hobbyist working on a small project or a professional in a large - scale manufacturing setting, I've got the right box headers for you. Just drop me a message, and we can start discussing your requirements.
References
- Electronics Installation and Troubleshooting Handbook
- Guide to Printed Circuit Board Assembly